How to Build a Postpartum Recovery Station at Home
Last updated: August 10, 2026
Quick answer: A practical postpartum recovery station at home usually needs 1 basket or small cart, 6 to 10 core items, and 1 to 2 placed within arm’s reach of the recovering parent. The point of how build postpartum recovery station at home is plain: cut down on standing, bending, and rummaging during the first 48 to 72 hours after birth.
Key takeaways
– A postpartum recovery station at home works best when it is small, boring, and one-handed.
– Put it where recovery actually happens: bed, couch, or nursing chair.
– The core job is to reduce movement during the first 48 to 72 hours home.
– Keep water, medications, pads, charger, snacks, and hygiene supplies together.
– Price varies: a basic setup can cost about $20 to $50, while a cart-based version can cost $40 to $120+ depending on what you already own.
– Ask the care team about anything medication- or recovery-specific, especially after a C-section or complicated birth.
A good postpartum recovery station at home should do one thing well: keep the person healing after birth from having to stand up for every sip of water, every wipe, every pad change, and every nursing session. I write about maternal health and home setup, and honestly, the best postpartum recovery station at home is small, plain, and easy to reach with one hand.
Start With the Real Goal: Reduce Movement, Not Build a “Cute Corner”
I’d build the station around the first 48 hours at home, not around the whole “new baby” fantasy. Decoration is a distraction. The real aim is to reduce bending, walking, squatting, and hunting for supplies when sleep-deprived and sore.
The biggest mistake I see in generic advice is treating postpartum recovery like a gift basket problem. It isn’t. It’s logistics. Because postpartum recovery can involve stitches, cramping, bleeding, breast tenderness, a C-section incision, swollen feet, or all of the above, it is worth checking with a clinician or midwife about any supplies that are specific to that recovery plan. The American College of Obstetricians and Gynecologists recommends postpartum care that is individualized and ongoing, not one-size-fits-all. So the items that belong within arm’s reach can change.
My rule is simple: if it gets used more than once a day and can sit safely in one place, it probably belongs in the station. If it has to be heated, chilled, or plugged in, think through the cord route and whether it creates a trip hazard. Little things trip people up fast.
Build the postpartum recovery station at home where the recovering person actually spends time. For many people, that is the bed or couch. In a nursing chair, put a second mini-setup there instead of forcing one “perfect” central station. A single station nobody can reach is just storage.
The Core Supplies I Would Not Skip

I’d keep the core very simple. The station should answer the same handful of needs again and again: hydration, pain relief, hygiene, skin care, feeding support, and charging.
Here is what belongs in most stations:
- Large water bottle or insulated cup with a straw: One-handed drinking matters. A lid reduces spills in the dark.
- Snacks that do not require prep: Think shelf-stable, easy-to-open foods with a little staying power. Skip anything that needs cookware, knives, or a long cleanup.
- All prescribed medications and a timer: Keep them together. Postpartum brain fog is real enough that “I’ll remember” is a weak plan.
- Pads or other bleeding supplies: Store extra underwear, pads, and any perineal care items together.
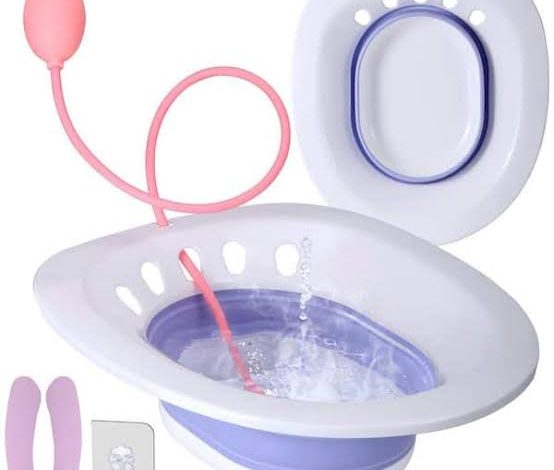
- Peri bottle or other cleansing supplies: For vaginal birth recovery, this can make bathroom trips less miserable.
- Nipple care items if needed: Nipple cream, breast pads, or a soothing gel pack can help if feeding is painful.
- Phone charger and charging cable: Put the cable where the person can reach it while lying down.
- Burp cloths and a small towel: These prevent a lot of annoyance.
- Notebook or notes app access: Useful for tracking feeds, meds, questions for the pediatrician, or pain changes.
I would also add a trash bag or small lined bin nearby. Postpartum clutter piles up fast. If dirty pads, wrappers, and tissues have nowhere to go, the station stops working.
What I would skip: scented candles, too many decorative baskets, loose glass bottles, and anything that needs constant rearranging. Pretty in photos? Sure. Useful at 3 a.m.? Not so much.
Build It for the Kind of Birth Recovery You Expect
A postpartum station should change based on the birth, because recovery after a vaginal birth is not the same as recovery after a C-section. That is where generic articles often go wrong: they list the same supplies for everyone.
For vaginal birth, comfort and bathroom access matter most. I would prioritize:
– peri bottle
– pads
– disposable or easily washed underwear
– witch hazel or other soothing items if recommended by a clinician
– a stool softener only if prescribed or advised
– a small mirror only if it genuinely helps with care, not because a list said so
For C-section recovery, I would shift the station closer to the bed or primary chair and focus on:
– medications
– water
– snacks
– phone charger
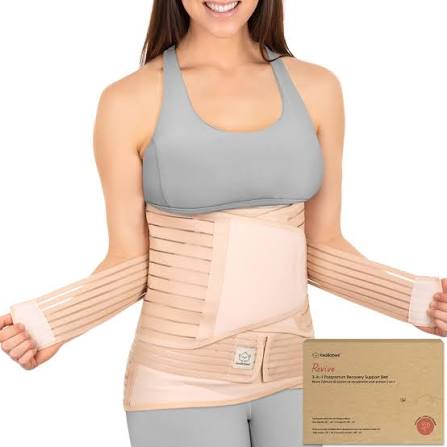
– abdominal support items if recommended by the care team
– a low-effort way to stand up and sit down without twisting
The weak spot in a C-section setup is easy to miss: getting up hurts. So supplies should live at hip level or above, not in low drawers. Bending after abdominal surgery can be miserable. I wouldn’t make the recovering person dig through a basket on the floor.
For breastfeeding or pumping, add a second layer:
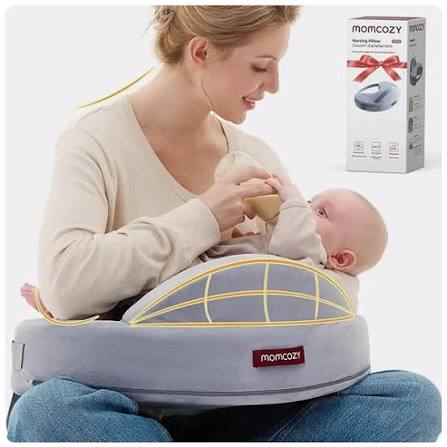
– nursing pillow or support pillow
– burp cloths
– pumping parts if needed
– a place to set a bottle upright
– spare top or bra within reach
For formula feeding, I’d keep the station different. The priorities become clean bottles, prepared formula supplies according to safe-feeding guidance, and a way to dispose of trash quickly. Don’t crowd the station with breastfeeding gear if it will never be used. That just creates clutter and irritation.
The Honest Side-by-Side
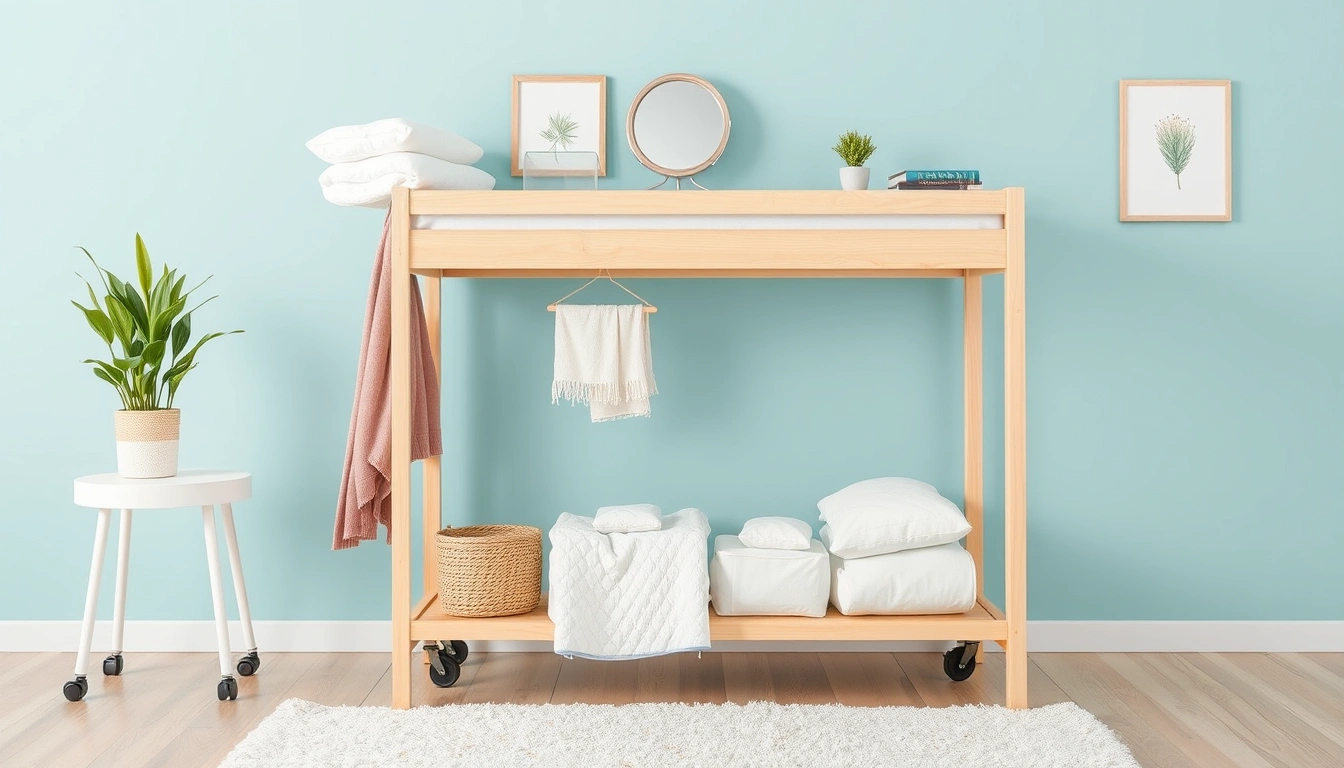
The best postpartum recovery station at home is usually either a bedside station or a living-room station, depending on where the person recovers most. I would not try to make one do everything unless the home is tiny. Here is the head-to-head that matters.
| Criteria | Bedside Station | Living-Room Station | Winner for [condition] |
|---|---|---|---|
| Night feeds | Closer, less walking, easier in the dark | Less convenient at 2 a.m. | Bedside for frequent night waking |
| Shared family access | More private, less communal | Easy for partner or helper to restock | Living-room for shared care |
| Space for supplies | Usually limited | Often easier to use a larger basket or cart | Living-room for bigger setups |
| Bathroom proximity | Often excellent if the bed is near a bath | May require longer trips | Bedside for perineal care needs |
| Comfort during long nursing sessions | Good if the bed supports rest | Often better if a couch or chair is more supportive | Depends on body comfort |
| Risk of clutter | High if the bed becomes a dumping ground | High if the room is already busy | Bedside for disciplined minimalists |
| Ease of restocking | Harder to refill without disturbing rest | Easier for another adult to tidy and refill | Living-room when help is available |
| Best for pain-limited movement | Usually best because everything stays close | Less ideal if walking hurts | Bedside for surgical or sore recovery |
| Best for multi-use | Can get cramped fast | Works better if daytime care happens there | Living-room for daytime-heavy routines |
My read: the bedside station often wins for someone recovering from birth who is sore, bleeding, or up often at night. The living-room station wins when there is a helper, when daytime feeds happen on the couch, or when the bed area is too cramped to function.
The Real Difference Between a Minimal Setup and a Fully Stocked Cart
The real choice is not “station or no station.” It is minimal versus fully stocked. I lean minimal for most homes because clutter becomes the enemy of recovery. A fully stocked cart looks prepared, but it can turn into a junk drawer on wheels.
A minimal setup means one tray, one basket, or one small bin with the daily essentials only. It wins for small rooms, chaotic houses, and people who hate visual clutter. The strength is focus: there is less to sort, less to dust around, and less to knock over when you are half asleep.
The weakness is obvious. If the helper forgets to restock, the station becomes empty fast. A minimal setup depends on discipline.
A fully stocked cart works better when there is real help and the same supplies are needed all day. I like it for homes where someone else can refill it regularly and roll it from room to room. It’s especially useful if the parent will spend long stretches in one area. The downside is upkeep. If nobody keeps it tidy, it turns noisy, crowded, and hard to use with one hand.
If I had to choose for a first-time parent, I would choose minimal. It is easier to keep clean, easier to audit, and less likely to become one more source of stress. It is also usually cheaper, because a small basket and basics often cost less than a rolling cart.
Cost, Price, and What You Actually Need to Spend
A postpartum recovery station at home does not have to be expensive. If you already own a basket, bottle, charger, and a few storage items, the cost may be under $25. When you are buying a small cart, organizer bins, insulated cup, and extra supplies from scratch, a realistic price is often $40 to $120.
The price usually goes up when you add:
– a rolling cart
– specialty feeding items
– extra storage bins
– duplicate chargers
– comfort items like a nursing pillow or heating pad
The cheapest version is not the worst version. A clear tote, a tray, or a laundry basket can work if it stays close to the bed or chair. A pricier setup only helps if it makes the postpartum recovery station at home easier to use.
Our Verdict: Which One to Choose and Why
Choose a bedside, minimal postpartum recovery station at home if the recovering parent is sore, waking often, or moving slowly between bed and bathroom. Choose a living-room, cart-based recovery station if most daytime care happens on the couch, another adult can restock it, and the home has enough space to keep it organized. Neither if the setup will be remote from where recovery actually happens, because a station that is out of reach is just storage.
That is the version I would build first in most homes. It solves the real problem: making the next 72 hours easier without creating another project.
If I were helping a family set this up, I would start with:
1. water
2. medications
3. bleeding or hygiene supplies
4. charging cable
5. snacks
6. whatever feeding items apply to that person’s birth and feeding plan
Then I’d stop. When the station works for three days, add only what removes a real friction point. Do not build for the imaginary future. Build for the tired person who needs a pain pill, a sip of water, and a clean pad without getting up three times.
When to Reconsider This Choice Entirely
There are a few cases where my recommendation flips.
-
The home is very small and the bed is not practical as a recovery base. In that case, a compact rolling cart in the main room may work better because it can travel with the person.
-
A partner, parent, or doula is present most of the day. Then a larger shared station wins because someone can keep it stocked and tidy.
-
The person recovering has surgical restrictions that make standing or bending especially painful. The station should be placed to avoid low shelves and floor storage entirely.
-
Breastfeeding or pumping is not the plan. Remove the feeding-specific gear and keep the station simpler. Too many “just in case” items make it harder to find what matters.
The main point is not to build the biggest station. It is to remove the most annoying actions from the first days home. For more practical setup ideas, see our guides to newborn feeding basics, postpartum care essentials, and how to organize a bedside table.
How I Would Set One Up in 15 Minutes
If I had to do this fast, I would use a basket or small cart and put it next to the bed or chair the recovering person already uses.
I’d place in it:
– water bottle
– snacks
– medications
– charger
– pads or other hygiene supplies
– peri bottle or feeding supplies, depending on the birth and feeding plan
– tissues
– trash bag or small bin
Then I’d add one comfort item that helps the person feel human again, such as lip balm, a hair tie, or a soft pair of socks. I would not make the station perform emotional labor. It should be useful first and pleasant second.
The last step is placement. The best setup is the one that can be reached while half asleep, one-handed, and sore. Should a person have to stand up to use it, I would move it. When it looks pretty but fails that test, I would strip it down until it passes.
That is how I’d build a postpartum recovery station at home: small, close, and ruthlessly practical. For safety details on postpartum symptoms and when to call a clinician, consult the CDC and ACOG guidance on postpartum care.